I love the look of greens in the home. It brings the outside in, gives a feeling of freshness, life. Well, I have a black thumb. I am not good at keeping plants alive. :( I do fine with fresh cut flowers, but if it has roots and a soil, forget it.
So, for our home, the look of the topiary was perfect. It not only gives the natural look, but it is also very stylish. Topiaries have a distinct shape, which gives it an extra-awesome look! The shape can help to provide dimension and height to a vignette (a grouping of objects for aesthetic pleasure) without being overpowering.
I decided that I wanted two artificial topiaries on the console table in our entry hallway. Places like Pottery Barn, Ballard Designs, and even Overstock want to sell artificial topiaries for at least $35 each. I thought that was crazy, and definitely not in our budget. Plus, I figured that I could make my own!
I had seen topiary forms at Hobby Lobby before, so I started there. At first, I bought the form with two foam spheres, but when I got home with them I realized they were very tall and wide for my space-- and the pots I had bought already.
 | |
| Photo courtesy of shophobbylobby.com |
I have the Hobby Lobby app for my phone, which makes it easy to access the weekly sales and coupon. Note though, often their sale prices- unless it is a big sale- are not as good as using a coupon, especially for the non-seasonal home crafty stuff. If it is on sale, you can't use a coupon.
There is a wooden dowel from the base foam to the sphere, which wasn't very pretty. So I wrapped it with jute. I started at the bottom and wrapped around, using hot glue to secure the jute every couple of circles up. I did this first so that the ends would be hidden by the moss. I already had the jute, so we are still at $12!
 | |
| Photo courtesy of gemplers.com |
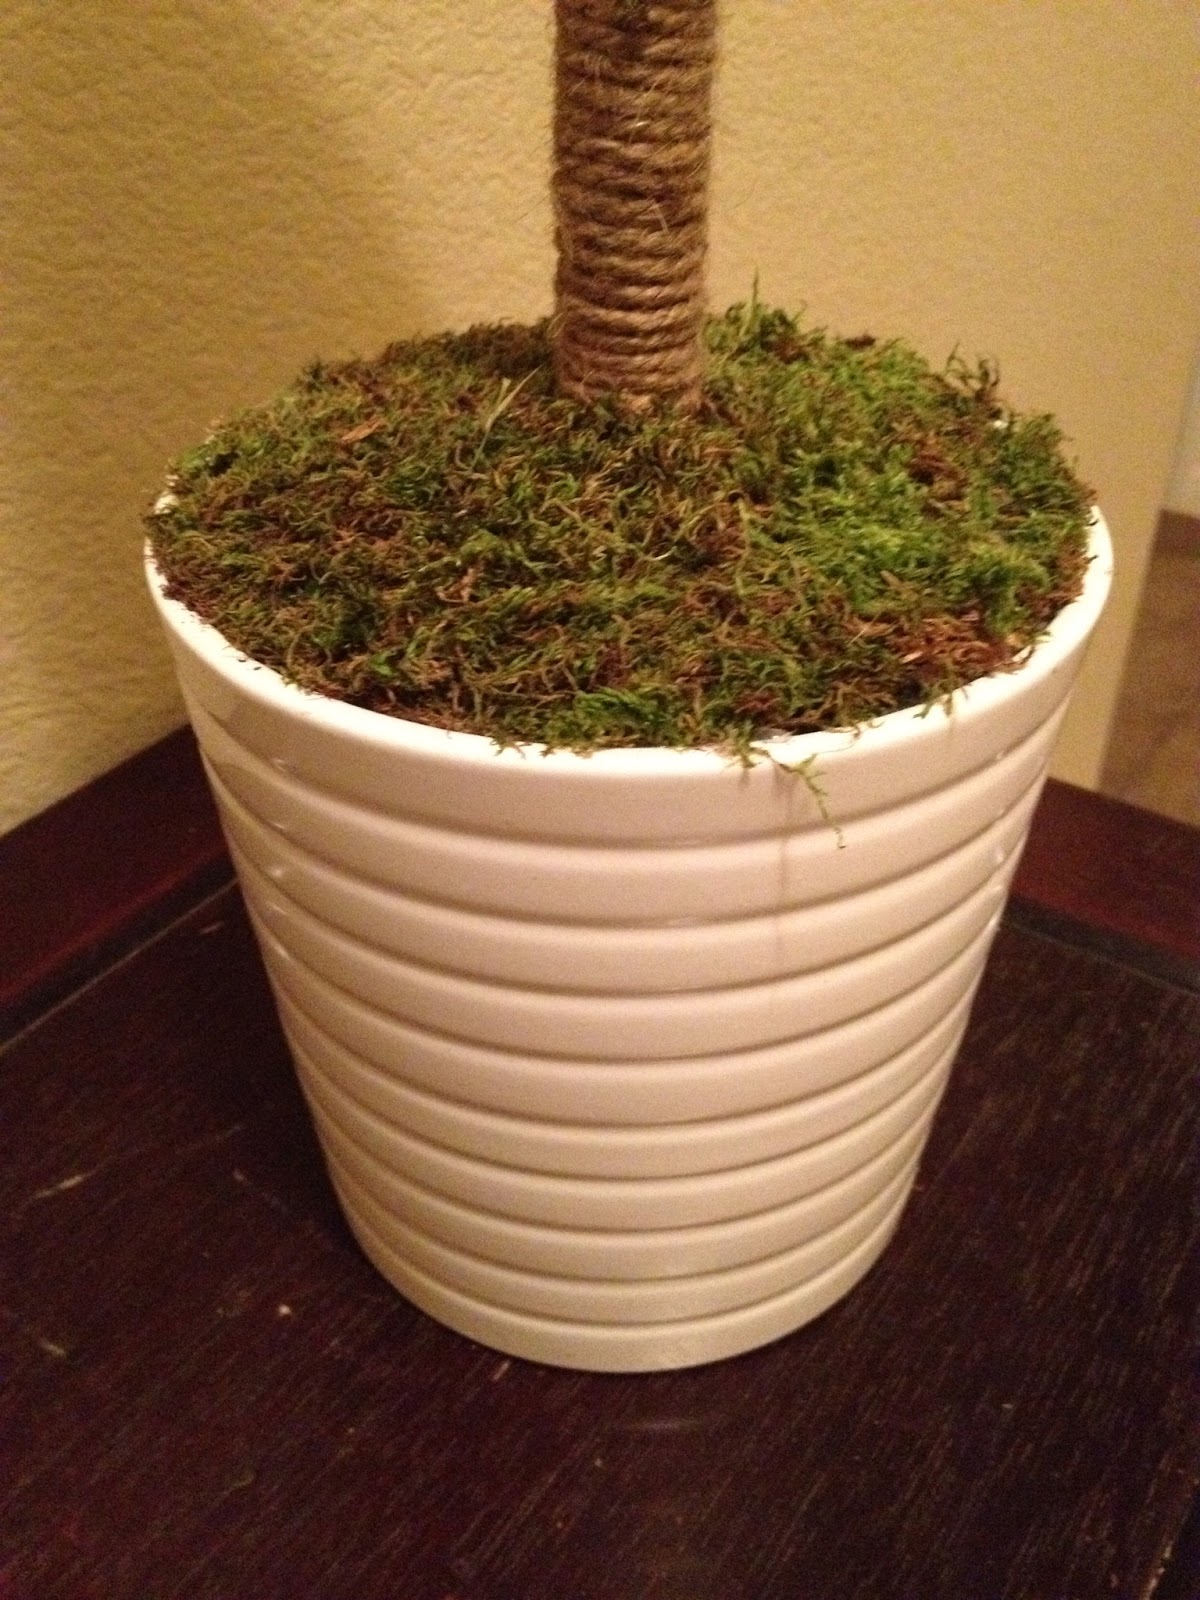
Next, I cut the base form to fit the pots. I bought these (the first two in the line) pots at Ikea for $2 each--bringing our total so far to $16. I like the clean, crisp white. But, the designs add some flair so that they do not look so plain. I wanted the topiaries to look great without commanding a lot of visual attention.
 | |
| Photo courtesy of ikea.com |
After the bases fit, I nestled them into their pots to that the top of the base was flush with the top edge of the pot.
 | |
| Photo courtesy of shophobbylobby.com |
For the moss, I bought a bag of Natural Green Sheet Moss from Hobby Lobby that cost $6, or $3.60 with a coupon. This bag was enough for both topiaries. I still had the hot glue gun on, and so got started! I tried to choose the pieces that were the largest, to make the job easier. (What is so cool about this moss is how it comes in... sheets. Just like the name. :) The sheets are in no way uniform, but it makes the gluing process much easier than the kind you put in the bottom of artificial trees.) I ran the glue gun around the foam and then plunked the moss on that area, filling glue in to any areas I missed under loose moss. Smaller pieces were used once the majority of the foam was covered. I did the same for the foam sphere on top, and trimmed fly-aways with scissors.

Ah, there are still a few fly-aways. It's cute like that!
And that's it!!! They turned out awesome!!


Our total is about $20 for 2!! That saves AT LEAST $50! Now, that's my kind of DIY project. And what makes it even better is that it is easy and doesn't take much time at all!

This is our console table now, with a photo of us and the roomies between the topiaries! But I think soon, with the coming of fall, I will change up the area between the topiaries. I. Cannot. Wait. :)

No comments:
Post a Comment